 COMP2511
⚙️ VSCode SetupPublic
Setting up your Visual Studio Code for Java development.
1. Warnings / Notes
1.1. SSH / SSHFS VSCode Extensions
Warning
Any extension that connects to CSE via SSH will not work with the extensions required for this course. This means the following extensions cannot be used:
- VSCode "Remote SSH" Extension
- VSCode "SSH FS" Extension
To work on CSE machines, you must use VLAB and/or TigerVNC.
1.2. MacOS VSCode Installation
Warning
Ensure that you have installed your Visual Studio Code application within the Applications folder.
If VSCode is not installed within the Applications folder, it may affect its ability to update and run the Java Extensions.
2. Setting up VSCode on your machine
Skip to step 3 if you are working on CSE. Only download VSCode if you are working locally.
Navigate to https://code.visualstudio.com/download and download the appropriate installer for your machine.
Once you have installed VSCode, use the code command in a terminal to start VSCode in Ubuntu, or click the
appropriate button to open it.
Once in VSCode, open the Extensions tab - you can do this using the icon on the left side of the screen or by
using the shortcut CTRL+Shift+X
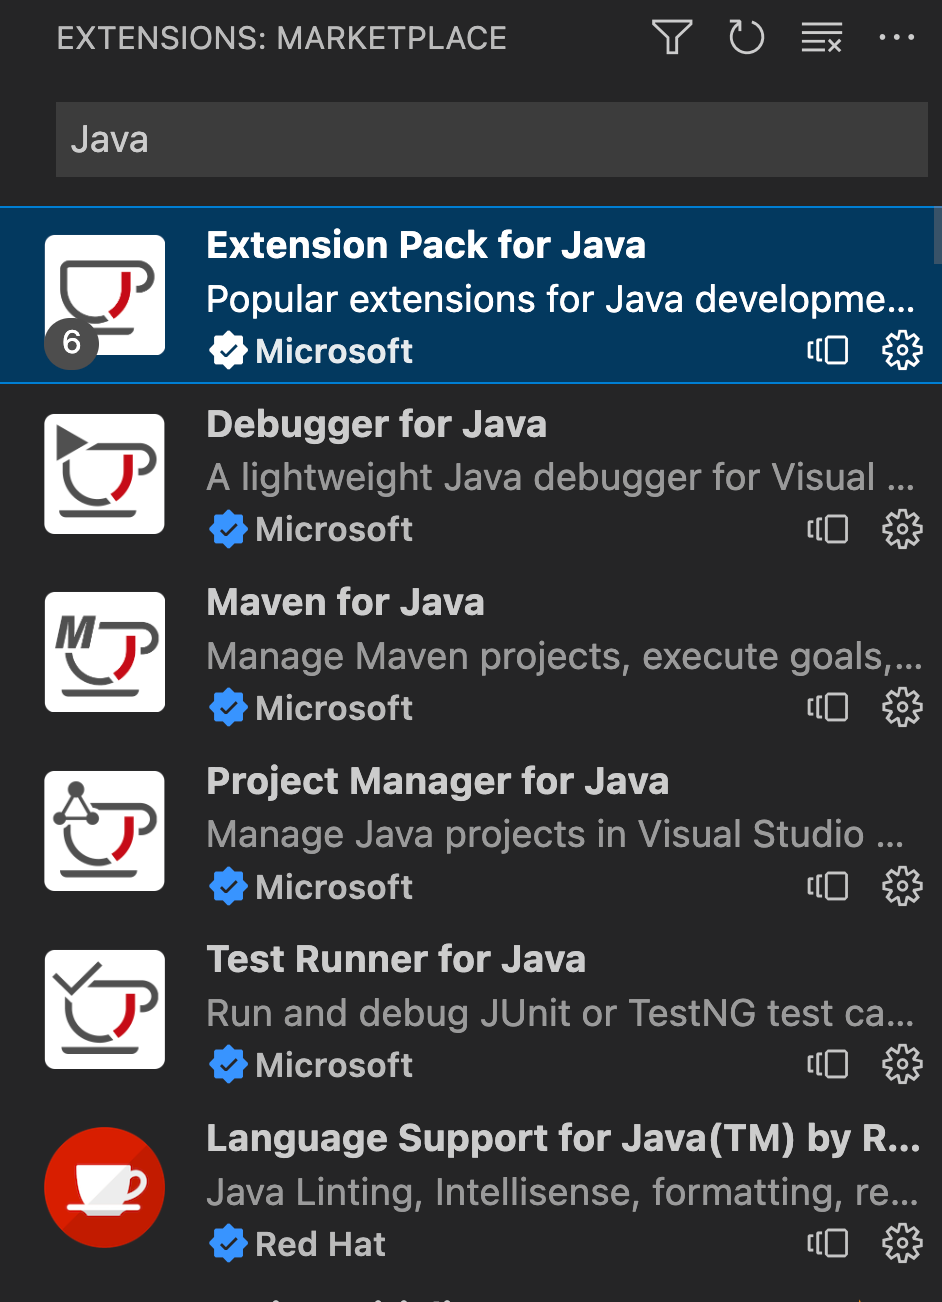
Within the Extensions tab, search for and install both the Extension Pack for Java. The correct extension should
be the one developed by Microsoft. And installing this pack will result in installing a bundle of extensions (see
below).
Info
Note that for these extensions to work you must have installed a Java JDK in the earlier instructions, and set any appropriate PATH variables in Windows, Linux or MacOS.
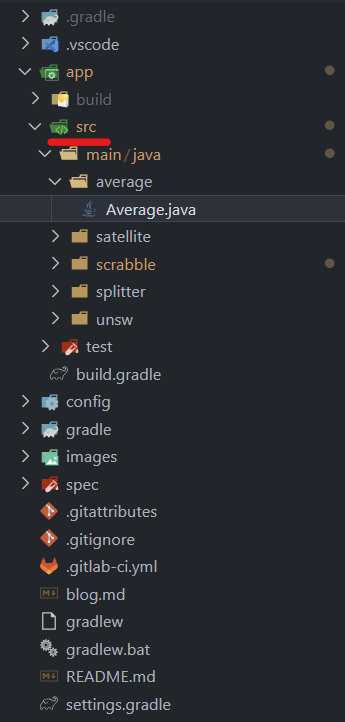
Within VSCode, to open the project, navigate to File > Open Folder and select the lab01 folder as the folder
to open from your system (that is the root directory of this lab). You will have src folder at the top level of
your file explorer. Make sure you see something similar to the screenshot below.
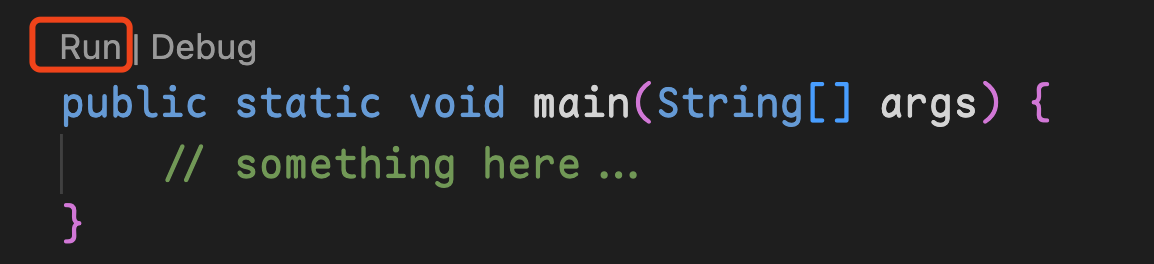
If you have correctly installed the Extension Pack for Java, clicking the Run link immediately above the main
function in any file should run that file.
Examine the VSCode Terminal or Output terminals to see the output. Try adding print statements using
System.out.println to help debug any issues in your programs.
3. Style Checking
We will be using checkstyle to do static code style checking.
To allow VSCode to display linting errors in the editor, install the Checkstyle for Java extension.
Tip
The following steps should already be pre-configured for you, however, if the extension is not working, it may be useful to follow the steps to ensure it has been configured correctly.
Using Shift + Command + P (Mac) / Ctrl + Shift + P (Windows/Linux) to open the command Palette, and type
Checkstyle: Set the Checkstyle Version to set the version to 10.3.3
There’s a file called checkstyle.xml in the repo config/ directory, right-click and select Set the Checkstyle Configuration File, if there’s a version error popping up, select the latest version 10.3.3.
4. Some Useful Tips
If you want to be able to use code in your terminal to open a folder/file:
Info
- Open the command palette (command+shift+p or control+shift+p)
- Search for path
- Click on the option
Shell Command: Install 'code' command in PATH
5. Some Useful Extensions
Extensions can take up a lot of space and memory. If you are working on CSE, you may not be able to install of these extensions.
In your exam, you are guaranteed to only have access to the "Extension Pack for Java".
Last updated on