Programming Fundamentals
Objectives
In this Lab, you will:
- Learn how to access your CSE account
- Become familiar with the Linux environment
- Use a text editor to create small C programs
- Use dcc to compile a C program
- Run a C program in a Linux terminal
Activities To Be Completed
You should complete all activities this week!
Problem set 1 is crucial for setup and getting started!
The following information is from the course outline:
Problem sets are capped at 15 marks (there are 4 possible bonus marks from the three-dot exercises that can bring you up to a total of 15 if you missed out on any other marks in the one- or two-dot exercises).
Completing just the one and two-dot exercises every week can give you the full 15 marks needed in this component.
For more details, see the course outline.
Understanding what this lab is!
In this first COMP1511 lab, the primary aim is for you to familiarise yourself with the process of creating, compiling and executing simple C programs.
The material you will need to know can be found in the week 1 lecture notes.
This exercise will simply ensure you are capable of writing a small program and getting it to run.
There are no marks for this week's work, but you should practice testing and submitting your answers in preparation for future weeks.
If you get stuck with any of this, don't hesitate to ask one of your tutors for help, that's why they're here!
You are done if: You have read this section.
Setting up your computer to work at home!
Since the course will likely require you to do some work at home you will need to work on your own computer.
Don't worry about the age or specifications of the computer itself, even reasonably old computers will be able to handle the work we're doing in COMP1511.
If you don't have a computer where you live, please contact cs1511@unsw.edu.au and we'll see what we can do to help.
Most COMP1511 students use a program called VLab to connect to CSE. It shows you an interface that looks identical to the ones in the Computer Science labs run by the School. There's more information about how to do set it up at the Home Computing link, or in this video recorded by one of our tutors!
You are done if: You have installed VLab on your computer.
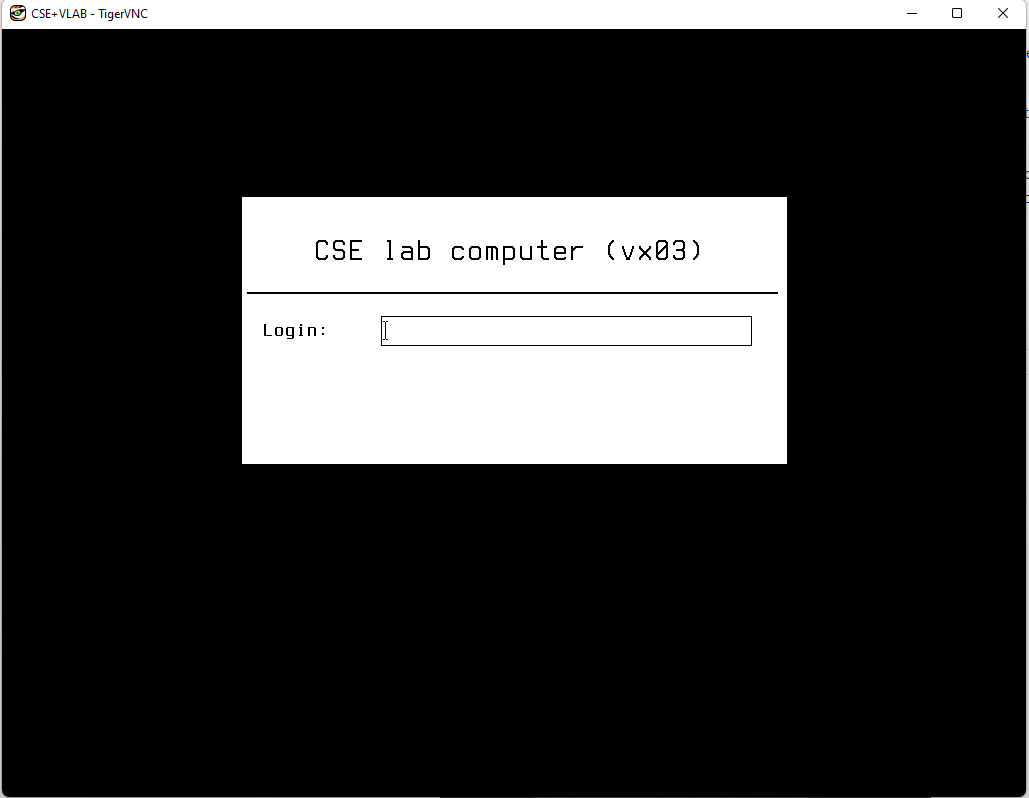
Logging into VLab
To log in, you use your zID (which looks something like
zXXXXXXX) and your zPass (which is used to log into all other
university online services).

The CSE labs use the Linux operating system (not Windows or OSX or ...).
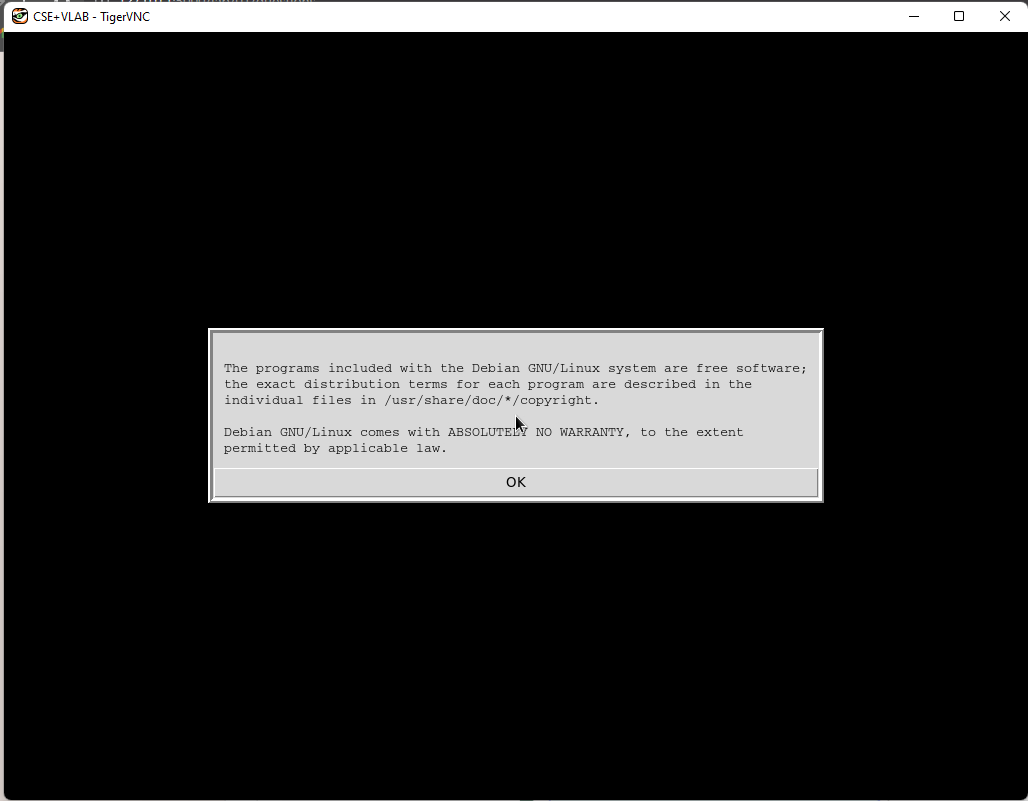
When you log in, you will be shown some information about the rules of using VLab, and about the resources available to you in VLab.

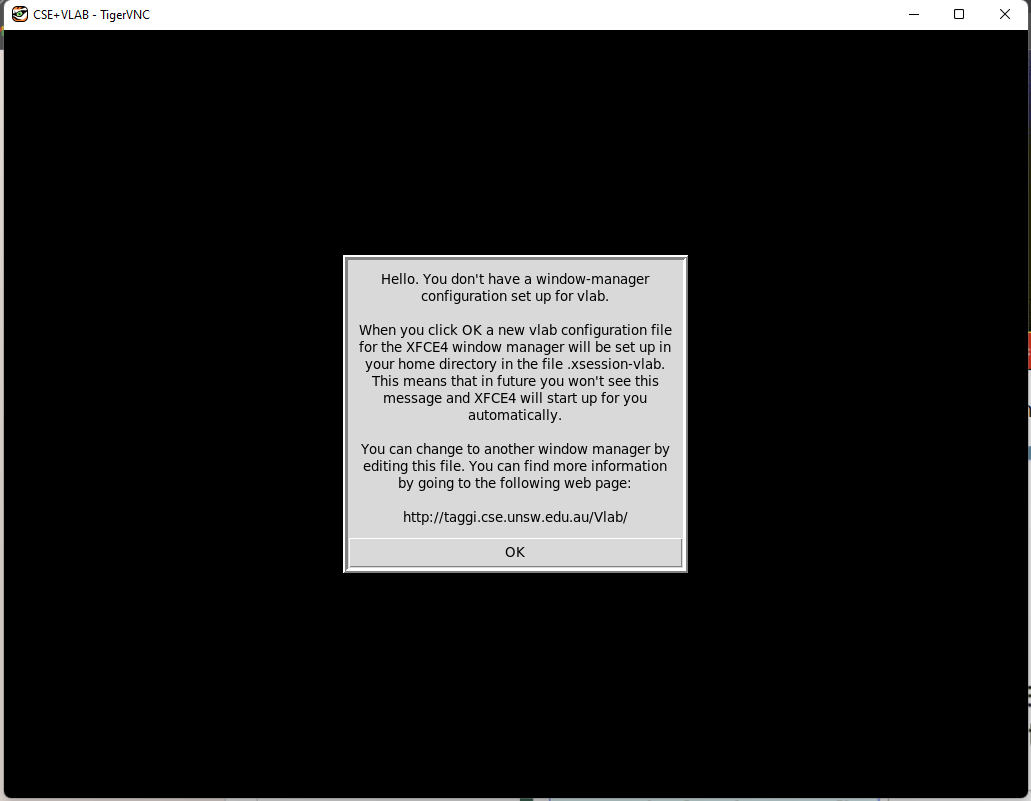
If it is your first time logging in, you will also see some information with the settings that have been setup for you. Select 'ok'.

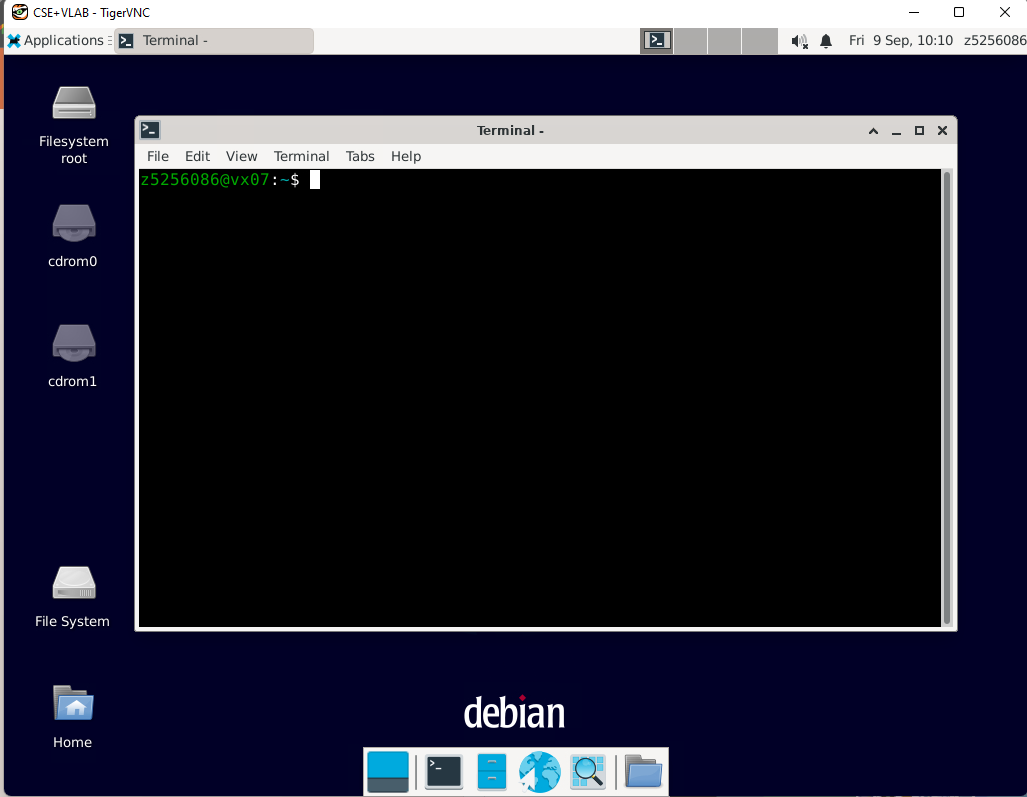
You are done if: You see an interface that looks like this:

Open A Terminal
Although there are lots of things you can do by using the graphical user interface (GUI) - clicking on menu items and icons, we really want you to understand how to use the Linux command-line. This is a really efficient and powerful way of interacting with a computer.
If there isn't a terminal open, right click on the desktop and select 'Open Terminal Here'
This will bring up a window where you can type in Linux commands.
You are done if: You opened a terminal, and can now type things in.
Setup your terminal
By default, the terminal VLab uses is small and un-intuitive.
To fix this, you should run the 1511 setup command. This will
set some defaults inside VLab, including changing to a more user friendly terminal.
Type exactly 1511 setup into your terminal. It will look a little like
the following:
  1511 setup
Welcome to COMP1511!

Setting up some sensible default values for indentation, line numbers, etc.....

[... some text]
All done! Enjoy your coding experience :)

Setting up default applications (if they aren't already set)
-----------------------------------------------------------
[... some text]
-----------------------------------------------------------
Done!
You should also now run 1511 colors, which will make your terminal
prompt (the thing to the left of where you type commands) more colorful. The colors make it
easier to use the terminal, in addition to looking beter.
Now you have done this, you should close and re-open your terminal.
Congratulations! Your terminal is now setup. You do not need to run these commands again.
You are done if:
- You have run
1511 setup - You have run
1511 colors - You have closed and re-opened your terminal.
- Your terminal looks something like this:

Using the Terminal
Now we're going to learn about some commands for working with files and directories on the terminal. This video recorded by one of our tutors goes through the basic terminal commands to get you started!
You'll be using the following commands a lot in this course, so you'll definitely want to commit them to memory over the next few weeks.
- pwd
- ls
- cd
- mkdir
- cp
Print Working Directory
The Linux command pwd tells you what directory you are in,
often called your current working directory.
pwd stands for 'print working
directory'.
If your username is 'zXXXXXXX', and you enter the 'pwd' command into the terminal, it might tell you:
pwd
/import/cage/1/zXXXXXXX/Desktop
This means that I'm in the Desktop directory inside my (zXXXXXXX's) home directoryand my home directory is stored on the file server called cage.
What does pwd print for you?
List
The Linux command ls prints a list of the files
in the present directory. Since you have a new account there will probably be
nothing in your Desktop directory.
ls
Change Directory
The Linux command cd is a command that you can use to
change your directory.
If you type in cd on its own as follows, you will move into your home directory.
If you type in cd with a '..' after (cd ..), it moves one
level back up.
Try this out and confirm your directory has changed by running
pwd again.
pwd
/import/cage/1/zXXXXXXX/Desktop
cd
pwd
/import/cage/1/zXXXXXXX
If you run ls you'll see what is in your home directory. Since
you have a new account, your home directory will most likely only contain your
Desktop and a directory called public_html (which is where you can create files
to create websites).
ls
Desktop Documents Downloads Music Pictures public_html Videos
Make Directory
The Linux command mkdir makes
a new directory. To use it you must supply the name of the
directory you wish to create. Let's use it to create a directory for this
week's lab exercises.
mkdir lab01
Now the command ls should show you the directory you just
created.
ls
Desktop lab01 public_html
Now we will use cd in a slightly different way where we tell it
what directory we want to change into.
cd lab01
To confirm we really are in our new created lab01 directory type the
pwd command again.
pwd
/import/cage/1/zXXXXXXX/lab01
If you have setup your terminal correctly, you may not need to use pwd
that often, because your prompt (the text before you type a command) will show you
what folder you're in.
Copy
The linux command cp will copy a file from one location to another. For example if you wanted to make a backup copy of a file or copy it into another folder.
The command takes the following form:
cp [filename i want to copy] [filename i want to copy to]
For example:
cp my_file.c my_file_copy.c
This would copy an existing file my_file.c into a new file my_file_copy.c. We will do some more examples of this later in the term, but it's good to know this is possible on the command line!
Bonus commands
Here's a list of some additional commands you might want to try out:
acctells you your name, what classes you're in, where your home directory is and other details that may or may not be usefuldatetells you today's date and timeecho "I love COMP1511"will print back out "I love COMP1511".touch my_filewill create an empty file, calledmy_file.-
mv my_file other_filewill move (or rename)my_fileto be calledother_file. -
cat my_filewill print out the contents of the filed namedmy_file. rquotatells you how much of your alloted file system storage you've used up (from creating files)- An A-Z index of linux commands
There are also some really useful features that terminals have which will make them much easier to use.
- If you want to edit a command, you cannot use a mouse to select earlier on the line. However, you can use the left and right arrow keys! Then press enter to use the command.
- To repeat a previous command, press the up arrow. This will show you the command you just ran. You can keep using the up arrow key to go further backwards into history.
You are done if: you have successfully created a folder called lab01
and moved into it.
Exercise 1: Bad Pun (●◌◌)
Your First Exercise
Every week in COMP1511 you will need to complete "exercises" to get marks.
This is your first exercise -- exciting!
Exercises also have a "level of complexity indicator". Read the course outline for more details, but in general, the more filled in circles, the more complex the exercise.
Each week, a maximum of two marks will be available. To get full marks in the "lab exercises" component of this course, you need to get 15 marks total.
We expect most students will complete all the ●◌◌ and ●●◌ exercises. You can miss one week's lab, and still get full marks by completing all those exercises. Marks in ●●● exercises can make up for missed exercises elsewhere.
You are done if: you have read the above introduction.
Open a file
Now it's time to create a file. We are going to use the text editor VScode.
To create a file using VScode, type:
code bad_pun.c
This will open up a graphical editor where you can manipulate text.
Here's an example of a simple C program. Copy it into the VScode window, and save it.
// A simple C program that attempts to be punny
// Written 23/2/2017
// by Angela Finlayson (angf@cse.unsw.edu.au)
// for COMP1511 Lab 01 Exercise 1

#include <stdio.h>

int main(void) {

    printf("Hello, it is good to C you!\n");

    return 0;
}
When you save, it will place the contents of the editor into the file
bad_pun.c.
Handy Tip: On many linux systems copying can be achieved by simply highlighting with the left mouse button and pasting can be achieved by simply clicking with the middle button.
You are done if: you have copied and saved the text of bad_pun.c.
Create a Program
Once you have pressed save, click on the Terminal window again and type this command to compile your program:
dcc bad_pun.c -o bad_pun
The -o bad_pun option tells the compiler to give the newly
compiled program the name bad_pun.
If dcc does not print out any error messages, then your program
has been successfully compiled. Otherwise you will need to find the errors in
your code, fix them, save the file and compile again.
Run the program to test that it works. Type:
./bad_pun
The ./ before the program name specifies that the program is
found in the current directory. Note that Unix executable (program) names do
not require the .exe extension that you might have have seen under
Windows.
You are done if: You have run ./bad_pun successfully.
Submit your Program
The COMP1511 class account contains a script that automatically checks your solution to lab exercises.
While it is not important this week, let's run the autotest
script so you can see what it does.
You can check bad_pun.c like this:
1511 autotest bad_pun
Test 0 (./bad_pun) - passed
1 tests passed  0 tests failed
Don't worry if you fail the check and you can't see why.
There are no marks for this week's lab but practice submitting your work electronically.
You submit your work with the give command like this:
give cs1511 lab01_bad_pun bad_pun.c
You are done if: The give command says it has accepted your submission.
Exercise 2: Creating an ASCII Bird (●◌◌)
Make a Bird
Now use the Linux command cp to copy bad_pun.c to
a new file named bird.c, like this:
cp bad_pun.c bird.c
You are now ready to start editing the file bird.c using Visual
Studio Code by using the code command.
code bird.c
Note that the basic structure of the program can be retained; you just need
to change the comments, and modify and/or add printf statements to the program.
Edit the file bird.c to produce a new program that behaves as
follows:
dcc bird.c -o bird
./bird
  ___
 ('v')
((___))
 ^   ^
Make sure you save your modified program before you compile it.
Make sure you re-compile your program every time you modify the code.
Handy Tip: Linux remembers the commands we have recently typed in. By pressing the UPARROW key, it will bring up your previous command and save you retyping it in! Try it. You can press the UPARROW key repeatedly to go back to the second last command, third last command and so on.
Handy Tip: At your Linux command prompt, type in ./b
and then press the tab key. Linux will automatically try to fill in
your partially typed command for you!
Again try the automatic checking script in the class account.
1511 autotest bird
Test 0 (./bird) - passed
1 tests passed  0 tests failed
Again don't worry if you fail the checking - and you can't see why.
There are no marks for this week's lab but practice submitting your work electronically.
You submit your work with the give command like this:
give cs1511 lab01_bird bird.c
You are done if: The give command says it has accepted your submission.
Sample solution for bird.c
// A simple C program that prints an ASCII bird
// Written 7/2/2018
//  by Andrew Taylor (andrewt@unsw.edu.au)
//  solution by Ibrahim Ghoneim z5470570
// as a lab example for COMP1511

#include <stdio.h>

int main(void) {

    printf("  ___\n");
    printf(" ('v')\n");
    printf("((___))\n");
    printf(" ^   ^\n");
}
Exercise 3: Fixing errors in an ASCII Kangaroo (●◌◌)
Complete the Kangaroo
Copy the program kangaroo.c from the course account to your
directory by typing (make sure you type the dot at the end):
cp ~cs1511/public_html/24T3/tlb/01/kangaroo.c .
The dot '.' is a shorthand for the current directory and there is a space
between kangaroo.c and the next dot. You can check that the file
has been copied by typing:
ls
bad_pun bad_pun.c bird bird.c kangaroo.c
You can examine the contents of the file by typing:
cat kangaroo.c
// A simple C program that prints an ASCII kangaroo
// Written 7/3/2017
/  by Andrew Taylor (andrewt@unsw.edu.au)
// as a lab example for COMP1511
...
Now try to compile kangaroo.c. You should see a list of confusing error messages.
dcc kangaroo.c -o kangaroo
kangaroo.c:4:1: error: expected identifier or ‘(’ before ‘/’ token
 /  by Andrew Taylor (andrewt@cse.unsw.edu.au)
...
Your job is to fix the errors.
You'll need to use an editor to change the file kangaroo.c
Open the file using the code command, like this:
code kangaroo.c
When you have fixed all the errors you should be able to do this.
dcc kangaroo.c -o kangaroo
./kangaroo

  /\   ___
 <__\_/    \
    \_  /  _\
      \_\ / \\
        //   \\
      =//     \==
kangaroo.c
// A simple C program that prints an ASCII kangaroo
// Written 7/2/2018
//  by Andrew Taylor (andrewt@unsw.edu.au)
//  solution by Ibrahim Ghoneim z5470570
// as a lab example for COMP1511

#include <stdio.h>

int main(void) {

    printf("\n");
    printf("  /\\   ___\n");
    printf(" <__\\_/    \\\n");
    printf("    \\_  /  _\\\n");
    printf("      \\_\\ / \\\\\n");
    printf("        //   \\\\\n");
    printf("      =//     \\==\n");
    printf("\n");

    return 0;
}
Again try the automatic checking script in the class account.
1511 autotest kangaroo
Test 0 (./kangaroo) - passed
1 tests passed  0 tests failed
Again don't worry if you fail the checking and you can't see why.
Submit your work with the give command like this:
give cs1511 lab01_kangaroo kangaroo.c
You are done if: The give command says it has accepted your submission.
Exercise 4: Fixing errors and expressing yourself! (●◌◌)
Complete the broken program
Copy the program about_me.c from the course account to your
directory by typing (make sure you type the dot at the end):
cp ~cs1511/public_html/24T3/tlb/01/about_me.c .
The dot '.' is a shorthand for the current directory and there is a space
between about_me.c and the next dot. You can check that the file
has been copied by typing:
ls
bad_pun bad_pun.c about_me.c
Now try to compile about_me.c. You should see a list of confusing error messages.
dcc about_me.c -o about_me
about_me.c:2:1: error: expected identifier or '('
/ about_me.c
^
...
Your job is to first fix all the errors.
You'll need to use an editor to change the file about_me.c
Run VScode like this:
code about_me.c
When you have fixed all the errors you should be able to do this.
dcc about_me.c -o about_me
./about_me
My favourite food is: ...
I'm doing COMP1511 because: ...
I hope to have achieved: ... by the time I finish COMP1511.
Something I'm passionate about is: ...
My question about COMP1511 that hasn't been answered is: ...
Once you've fixed all the errors, you should personalise the information printed out, by replacing the ... with your responses.
(You're also welcome to add additional printf statements afterwards if you have even more to say!)
Now try the automatic checking script in the class account.
  1511 autotest about_me
  1511 c_check about_me.c
[✓] Favourite food provided
--------------------------------------------------
[✓] COMP1511 reason provided
--------------------------------------------------
[✓] Achievment provided
--------------------------------------------------
[✓] Passion provided
--------------------------------------------------
[✓] Question provided
--------------------------------------------------
dcc about_me.c about_me
Test 0 (./about_me) - passed
1 tests passed 0 tests failed
Submit your work with the give command like this:
give cs1511 lab01_about_me about_me.c
You are done if: The give command says it has accepted your submission.
Reply to your Tutor's Email
Your tutor has sent an email to your official UNSW email account. You need to reply to it. We want to make sure you can receive official emails!
You are done if: You have replied to your tutor's email.
Comment on our Introductions post on the Course Forum!
You can ask any questions you have related to COMP1511 on the course forum.
Remember never to post assessment code on the course forum. Course staff can view your recently autotested/submitted code. You can also post anonymously, by clicking on your profile icon in the top right, then click on your zID, then click on "Enter Anonymous Mode".
There is already a post on the forum to introduce yourself -- make a comment underneath our post!
You are done if: You have commented on the "introduce yourself" post of the forum.
(Optional) Customise your text editor!
If you want to personalise your coding experience a bit, you can try changing the color theme for VSCode.
To open the theme selection menu:
-
Open VScode from the terminal:
code .
-
Then, in VSCode, press CTRL + k and then CTRL + T.
This will open a drop down menu of available editor themes.
-
Use the Up/Down arrows keys to preview different themes.
-
when you've found one you like, Press the Enter key to select that theme.
You are done if: You're happy with your VSCode theme.
Submission
give.
You can run give multiple times.
Only your last submission will be marked.
Don't submit any exercises you haven't attempted.
If you are working at home, you may find it more convenient to upload your work via give's web interface.
Remember you have until Week 2 Monday 20:00 to submit your work.
You cannot obtain marks by e-mailing your code to tutors or lecturers.
You check the files you have submitted here.
Automarking will be run by the lecturer several days after the submission deadline,
using test cases different to those autotest runs for you.
(Hint: do your own testing as well as running autotest.)
After automarking is run by the lecturer you can view your results here. The resulting mark will also be available via give's web interface.